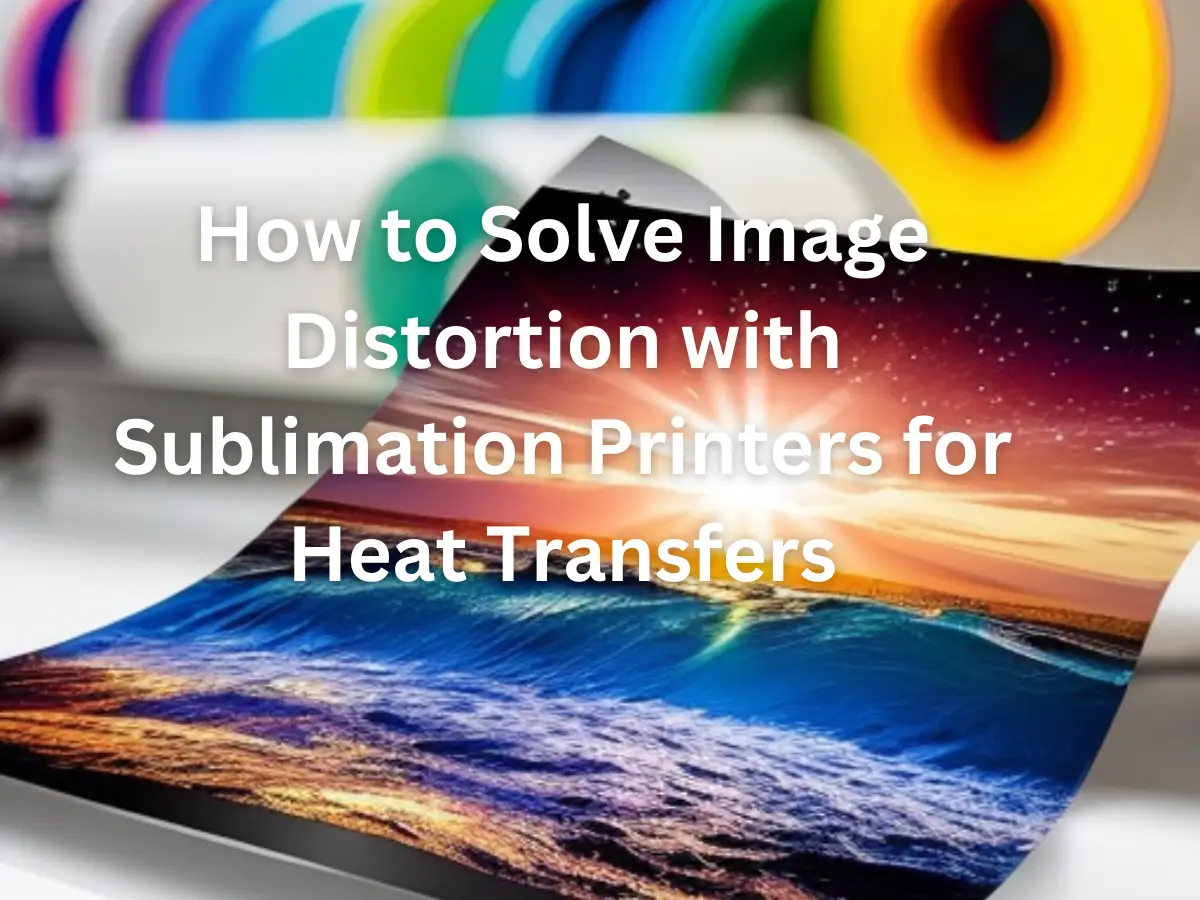
How to Solve Image Distortion with Sublimation Printers for Heat Transfers in 2024?
Image distortion can be a major problem when using sublimation printers for heat transfers. A blurry or pixelated image, or an image that is stretched or compressed, can ruin the professional appearance of your transfers.
However, with the right techniques and tools, you can solve image distortion in sublimation printing and create high-quality transfers that are clear, crisp, and accurate. In this article, I will provide step-by-step instructions for solving image distortion in sublimation printing, as well as tips and tricks for ensuring the best results.
I will also answer some of the most frequently asked questions about sublimation printing and image distortion, so that you can achieve the best results with your transfers.
So, whether you’re a beginner or an experienced sublimation printer, this guide will help you create high-quality transfers that will look great and last for a long time.
Table of Contents
How to Solve Image Distortion with Sublimation Printers for Heat Transfers
Understanding the Causes of Image Distortion
Before we can solve image distortion, it’s essential to understand what causes it. Image distortion can happen for a variety of reasons, including:
Substrate Quality
The quality of the substrate you’re using can significantly impact the final result. Poor-quality substrates may not transfer the image correctly, leading to distortion. Make sure to use high-quality substrates that are compatible with your sublimation printer and the heat transfer process.
Incorrect Printing Settings
Your printing settings can have a significant impact on the final result. Ensure that your printer settings are set correctly for your specific sublimation printer and the type of substrate you’re using. Check the printer manual for recommended settings.
Incorrect Transfer Temperatures
The transfer temperature can play a crucial role in the final outcome. If the transfer temperature is too high, it can cause image distortion. Ensure that you are using the correct transfer temperature for your substrate, which can be found in the sublimation printer manual or on the manufacturer’s website.
Clogged Printhead
A clogged printhead can also cause image distortion. Regularly clean the printhead to ensure that it is functioning properly.
Step-by-Step Guide to Solving Image Distortion
By following these steps, you can prevent image distortion and ensure that your transfers come out as you intended.
Use High-Quality Substrates
Using high-quality substrates is crucial to preventing image distortion. Make sure to use substrates that are compatible with your sublimation printer and the heat transfer process. To ensure that you’re using the right substrate, check the printer manual or the manufacturer’s website.
Check Your Printing Settings
Ensure that your printing settings are set correctly for your specific sublimation printer and the type of substrate you’re using. Check the printer manual for recommended settings. If you’re not sure how to adjust the settings, consult the manual or reach out to the manufacturer for assistance.
Run a Test Print
Before printing your final project, run a test print. This will help you catch any issues before they become major problems. If you notice image distortion during the test print, adjust your printing settings until you get the desired results.
Use the Correct Transfer Temperature
The transfer temperature is critical to the final outcome of your transfer. Ensure that you are using the correct transfer temperature for your substrate, which can be found in the sublimation printer manual or on the manufacturer’s website.
Clean the Printhead
A clogged printhead can cause image distortion, so it’s essential to clean it regularly. Check your sublimation printer manual for instructions on how to clean the printhead.
Tips and Tricks for Solving Image Distortion
Experiment with Different Printing Settings
Try adjusting different printing settings to see what works best for your specific sublimation printer and substrate. Play around with different transfer temperatures, print quality, and resolution settings to see if they have an impact on image distortion.
Calibrate Your Printer Regularly
Calibrating your printer regularly can help prevent image distortion. Your sublimation printer manual should include instructions on how to calibrate your printer. If you’re not comfortable calibrating your printer on your own, reach out to the manufacturer for assistance.
Maintain Your Printer
Maintaining your sublimation printer is crucial to preventing image distortion. Regular cleaning, oiling, and calibrating your printer will help ensure that it functions correctly and produces quality transfers.
Use a Heat Press
Using a heat press can help prevent image distortion by ensuring that the transfer is applied evenly and with the correct amount of pressure. Make sure to choose a heat press that is compatible with your sublimation printer and the type of substrate you’re using.
Frequently Asked Questions
Q: What is image distortion in sublimation printing?
A: Image distortion in sublimation printing occurs when the transferred image does not appear as it should on the substrate. This can be caused by a variety of factors, including incorrect printing settings, incorrect transfer temperatures, and poor-quality substrates. Image distortion can result in a blurry or pixelated appearance, or an image that is stretched or compressed in one or more directions.
Q: Why is it important to prevent image distortion in sublimation printing?
A: Preventing image distortion in sublimation printing is important because it ensures that the transferred image is clear, crisp, and accurate. When image distortion occurs, the transferred image can be difficult to read or understand, and it may not look professional or attractive. To ensure that your sublimation transfers look their best, it’s essential to take steps to prevent image distortion.
Q: What are the main causes of image distortion in sublimation printing?
A: The main causes of image distortion in sublimation printing include poor-quality substrates, incorrect printing settings, incorrect transfer temperatures, and clogged printheads. To prevent image distortion, it’s important to choose high-quality substrates, check your printing settings, run test prints, use the correct transfer temperature, and maintain your printer regularly.
Q: What can I do to prevent image distortion in sublimation printing?
A: To prevent image distortion in sublimation printing, you can take several steps, including:
- Choosing high-quality substrates
- Checking your printing settings and resolution
- Running test prints
- Using the correct transfer temperature
- Calibrating your printer regularly
- Maintaining your printer to ensure it functions correctly
- Using a heat press to apply the transfer evenly and with the correct amount of pressure.
Q: How do I calibrate my sublimation printer?
A: To calibrate your sublimation printer, you should refer to your printer manual for specific instructions. The manual should include information on how to calibrate the printer and what settings you should use. If you’re not comfortable calibrating your printer on your own, reach out to the manufacturer for assistance.
Q: How can I ensure that my sublimation printer is producing high-quality transfers?
A: To ensure that your sublimation printer is producing high-quality transfers, you can take several steps, including:
- Choosing high-quality substrates
- Checking your printing settings and resolution
- Running test prints
- Using the correct transfer temperature
- Calibrating your printer regularly
- Maintaining your printer to ensure it functions correctly
- Using a heat press to apply the transfer evenly and with the correct amount of pressure.
Conclusion
Solving image distortion in sublimation printing is essential for creating high-quality transfers that look professional and attractive.
By choosing high-quality substrates, checking your printing settings, using the correct transfer temperature, and maintaining your printer, you can avoid image distortion and produce transfers that look great and last for a long time.
I hope that this article has provided you with the information and guidance you need to solve image distortion in sublimation printing. If you have any questions or need further assistance, please don’t hesitate to reach out. By following the tips and tricks outlined in this article, you can be confident that your sublimation transfers will look great and meet your expectations every time.
Related Posts:
Fixing Sublimation Printers Connectivity Issues for Heat Transfers: A Comprehensive Guide
How to Fix Common Issues with Sublimation Printers for Heat Transfers [Solved]
Solving Color Problems with Sublimation Printers for Heat Transfers
How to Resolve Paper Jams with Sublimation Printers for Heat Transfers