Get Your Printer Running After Months of Inactivity – The Ultimate Guide
If you haven’t used your printer in months, you might encounter some problems when you try to print. The ink may have dried up, or the printer’s components may have become clogged. Don’t worry; you can get your printer up and running again with a few simple steps. In this article, we’ll walk you through the process of getting your printer back in action after a long hiatus.
Table of Contents
Step 1: Clean the Printer Head
The first thing you should do is clean the printer head. Over time, ink can dry out and clog the nozzles in the print head, preventing ink from flowing through. To clean the printer head, follow these steps:
- Turn on the printer and open the printer cover.
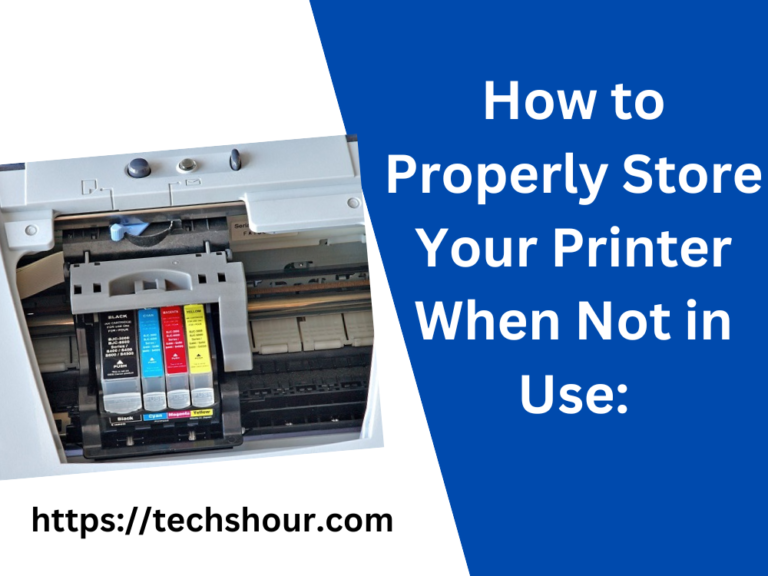
- Remove the ink cartridges from the printer.
- Locate the printer head and use a soft cloth or cotton swab to gently wipe it clean.
- You can also use a cleaning solution specifically designed for printer heads to dissolve any dried ink.
- Once you’ve cleaned the printer head, reinstall the ink cartridges and try printing again.
Step 2: Replace the Ink Cartridges
If you’ve cleaned the printer head and you’re still having problems, it may be time to replace the ink cartridges. Over time, ink can dry out, and the cartridges may no longer function correctly. Follow these steps to replace your printer’s ink cartridges:
- Turn on the printer and open the printer cover.
- Locate the ink cartridges and remove them from the printer.
- Install the new ink cartridges into the printer.
- Close the printer cover, and your printer should be ready to use.
Step 3: Check the Printer’s Software
If you’re still experiencing problems with your printer, it’s time to check the printer’s software. Outdated drivers or software can cause your printer to malfunction. Here’s how to check your printer’s software:
- Go to your computer’s Control Panel and select Devices and Printers.
- Locate your printer and right-click on it.
- Select Properties from the drop-down menu.
- Click on the Hardware tab and then click on Properties.
- Select the Driver tab and check for any updates.
- If there are any updates available, install them, and try printing again.
Step 4: Run a Test Print
Once you’ve cleaned the printer head, replaced the ink cartridges, and checked the printer’s software, it’s time to run a test print. Here’s how to do it:
- Load a piece of plain white paper into the printer’s paper tray.
- Open a document on your computer and try to print it.
- If the printer successfully prints the document, you’re good to go!
- If there are still problems, try repeating the previous steps, or consult your printer’s user manual for more troubleshooting tips.
Frequently Asked Questions
How long can I go without using my printer?
It’s recommended that you use your printer at least once a month to prevent ink from drying out and clogging the nozzles in the printer head.
Can I use rubbing alcohol to clean my printer head?
No, rubbing alcohol can damage the printer head. Use a cleaning solution specifically designed for printer heads.
How often should I replace my ink cartridges?
This depends on how frequently you use your printer. If you print frequently, you may need to replace your cartridges every few months. If you print infrequently, your cartridges may last for up to a year.


