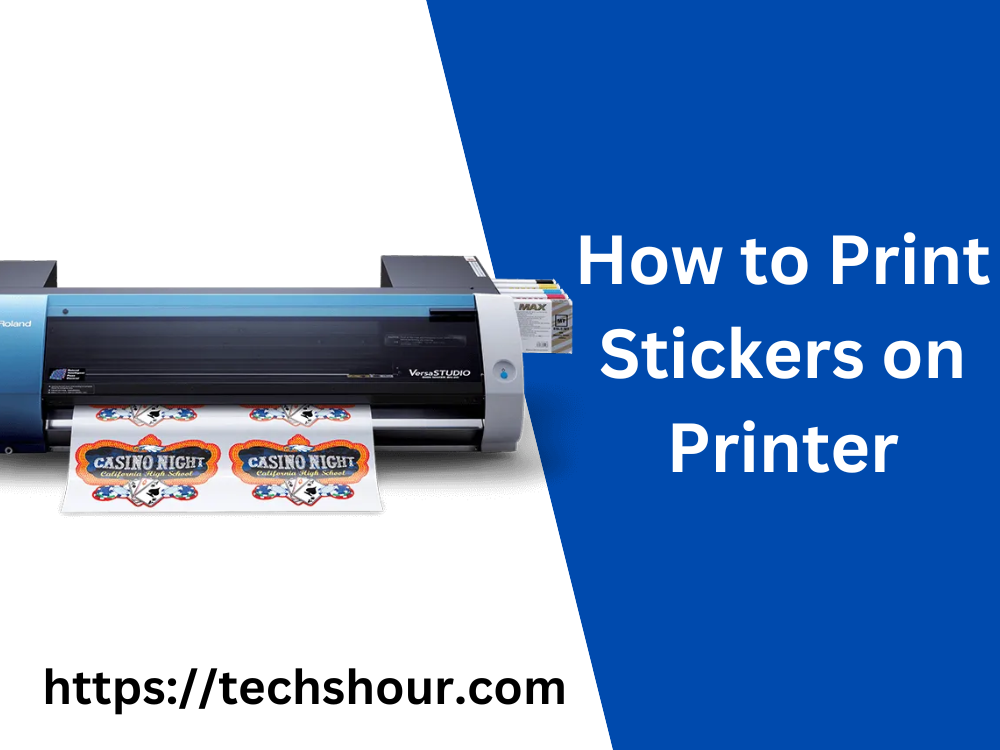
How to Print Stickers on Printer: A Step-by-Step Guide
If you are looking for a way to create custom stickers for your personal or business use, then printing them on a printer is an easy and affordable solution. Printing stickers at home is also a great way to unleash your creativity and customize your designs to fit your specific needs. In this article, we will provide you with a step-by-step guide on how to print stickers on a printer.
Table of Contents
How to Print Stickers on Printer: A Step-by-Step Guide
Step 1: Choose the Right Printer and Paper
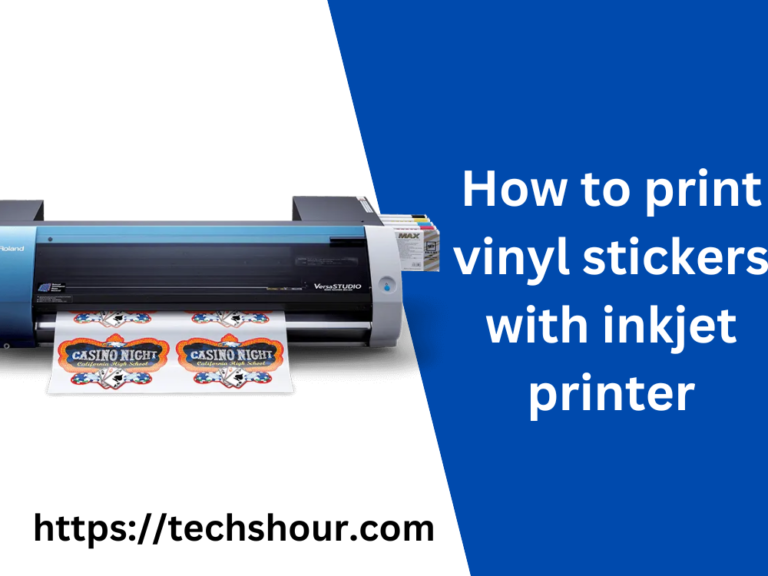
The first thing you need to do is to choose the right printer and paper. For best results, we recommend using an inkjet printer, as it provides better color quality and can handle a variety of paper types. You also need to select the right paper that is compatible with your printer. For stickers, we recommend using glossy or matte inkjet sticker paper, which can be easily found at any office supply store.
Step 2: Prepare Your Design
Before you can print your stickers, you need to prepare your design. You can use a design software like Adobe Illustrator or Canva to create your design. Make sure to set the correct size and resolution for your design, based on the size of the stickers you want to print. You can also use pre-made templates available on these platforms, or create your own design from scratch.
Step 3: Print Your Stickers
Once you have your design ready, it’s time to print your stickers. Follow these steps:
- Load your sticker paper into the printer tray. Make sure the printable side of the paper is facing up.
- Open your design software and select the “Print” option.
- In the printer settings, select the correct paper type and quality.
- Print a test page to check the alignment and color quality.
- If the test page is good, proceed to print your stickers.
Step 4: Cut Your Stickers
After you have printed your stickers, it’s time to cut them. You can use a pair of scissors or a cutting machine like a Cricut or Silhouette to cut your stickers. If you are using scissors, make sure to cut along the edges of the sticker, leaving a small border around it. If you are using a cutting machine, make sure to set the correct size and shape in the software before cutting.
Tips and Tricks:
- Make sure to use high-resolution images for your design to ensure a clear and crisp print quality.
- Test print your design on regular paper before printing on sticker paper to avoid wasting your sticker paper.
- Use a cutting machine to achieve precise and professional-looking cuts.
- If you are printing a large number of stickers, consider using a print service to save time and money.
FAQs:
Q. Can I use a laser printer to print stickers?
A. While laser printers are known for their sharp and precise print quality, they are not recommended for printing stickers as they may cause the paper to warp or curl.
Q. Can I use regular paper to print stickers?
A. No, regular paper is not suitable for printing stickers as it will not adhere to surfaces and may cause the ink to smudge or smear.
Q. How do I remove air bubbles from my stickers?
A. To remove air bubbles from your stickers, use a credit card or a scraper to press the sticker firmly onto the surface, starting from the center and moving outward.
Conclusion
printing stickers on a printer is an easy and fun way to create custom stickers for personal or business use. With the right printer, paper, and design software, you can print high-quality stickers from the comfort of your own home. Follow these steps, tips, and tricks to get started and unleash your creativity!
Related Articles: