How to Make Shipping Labels at Home in 5 Easy Steps – A Step-by-Step Guide
Sending packages can be a hassle, especially if you don’t have the right supplies or knowledge. However, with the right tools, you can easily make shipping labels at home, saving time and money in the process. In this article, we’ll go through a step-by-step guide on how to make shipping labels at home, covering everything from gathering supplies to printing and applying the label to your package.
Table of Contents
How to Make Shipping Labels at Home in 7 Easy Steps – A Step-by-Step Guide
1. Gather Necessary Supplies
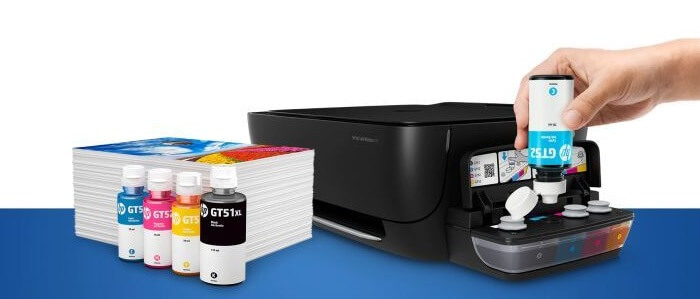
The first step in making shipping labels at home is to gather the necessary supplies. You will need a printer, adhesive paper or label sheets, and a computer or mobile device.
If you don’t have a printer, consider using a public printing facility, such as a local library or office supply store. Alternatively, you can purchase an affordable printer for home use. When choosing a printer, make sure it has the capability to print on adhesive paper or label sheets.
Adhesive paper and label sheets are widely available at office supply stores or online retailers. There are many different types and sizes of label sheets, so be sure to choose one that fits the size of your package and the information you want to include on the label.
2. Select Label Format
The next step is to select a label format that fits the size of your package and the information you want to include on the label. Some common label formats include 2×4 inch, 4×6 inch, and 8.5×11 inch. You can also choose between label sheets with a single label or multiple labels on a single sheet.
3. Create the Label
Once you have gathered the necessary supplies and selected a label format, you can start creating the label. You can create the label using a word processing program, such as Microsoft Word or Google Docs, or by using a label-making software program.
If using a word processing program, start by creating a new document and selecting the appropriate label format from the list of templates. Then, add the necessary information, such as your name and address, the recipient’s name and address, and any necessary shipping information, such as tracking numbers or delivery instructions.
If using a label-making software program, simply follow the prompts to enter the necessary information and select the label format. The software will handle the rest, including formatting the label and creating any necessary barcodes.
4. Print the Label
Once the label is created, you’re ready to print it. Load the adhesive paper or label sheets into your printer, making sure they are loaded correctly and in the right direction. Then, print the label.
5. Apply the Label to the Package
After printing the label, carefully remove it from the adhesive paper or label sheet. Avoid bending or folding the label, as this can cause it to become unreadable or fall off during shipping.
Next, apply the label to your package. Ensure it is securely attached and will not fall off during shipping. You can use clear packaging tape to reinforce the label if necessary.
6. Package the Item
Once the label is applied, it’s time to package the item. Package the item securely, making sure it won’t shift or become damaged during shipping. You can use bubble wrap, packing peanuts, or newspaper to cushion the item and protect it from damage.
7. Take the Package to the Shipping Carrier
The final step is to take the package to the shipping carrier of your choice. The carrier will provide the necessary tracking information, and the package will be on its way to its destination.
Tips and Tricks for Making Shipping Labels at Home
Save time by creating a template for your labels.
This will allow you to quickly enter in the recipient’s information without having to input all of the details each time.
Use high-quality paper for your labels.
This will ensure that the labels are durable and won’t smudge or tear during the shipping process.
Consider using a thermal printer for your labels.
Thermal printers are specifically designed for printing shipping labels and offer a higher level of durability and reliability.
Frequently Asked Questions
Q Can I use any type of printer to make shipping labels at home
It depends on the type of labels you’re using. Some shipping label papers are designed to be used with laser printers, while others are designed to be used with inkjet printers. Check the specifications of the label paper you’re using to determine which type of printer is best.
Q Do I need to purchase shipping software or can I use a free website
Both options are available. Some shipping software is free, while others require a monthly subscription. There are also free websites that allow you to create and print shipping labels, such as USPS.com.
Can I use any type of printer to make shipping labels at home?
Yes, you can use any type of printer as long as it is capable of printing on adhesive paper. However, it’s recommended to use a laser printer as they produce high-quality, smudge-free prints.
Is it possible to make shipping labels without a printer?
No, you will need a printer to make shipping labels at home. However, you can visit a local print shop to have the labels printed for you if you don’t have a printer.
How do I ensure the shipping label stays on the package during transit?
To ensure that the shipping label stays on the package during transit, you need to make sure the adhesive is strong enough and the surface of the package is clean and free of any oils or dirt that might prevent the label from sticking.
What type of adhesive paper should I use for shipping labels?
You should use adhesive shipping label paper specifically designed for printing shipping labels. This type of paper is available in most office supply stores and online.
Can I reuse shipping labels that have already been printed on?
No, shipping labels should not be reused as they may contain important information and barcodes that are specific to a single shipment.
How do I print multiple shipping labels at once?
Most shipping label software allows you to print multiple labels at once by selecting the number of labels you want to print in a batch. This can save you time and make the shipping process more efficient.
Can I customize my shipping labels with my own logo or design?
Yes, many shipping label software programs allow you to customize your shipping labels with your own logo or design. This can give your shipments a professional look and help your brand stand out.
Conclusion
In conclusion, making shipping labels at home is a simple and cost-effective solution for small business owners and individuals who need to ship packages.
By following the steps outlined in this article, you can save time and money while ensuring that your packages are properly labeled and ready for transit.
Whether you’re a seasoned pro or a newcomer to shipping, these tips and tricks will help you make the most of your shipping experience.
Related Articles:


