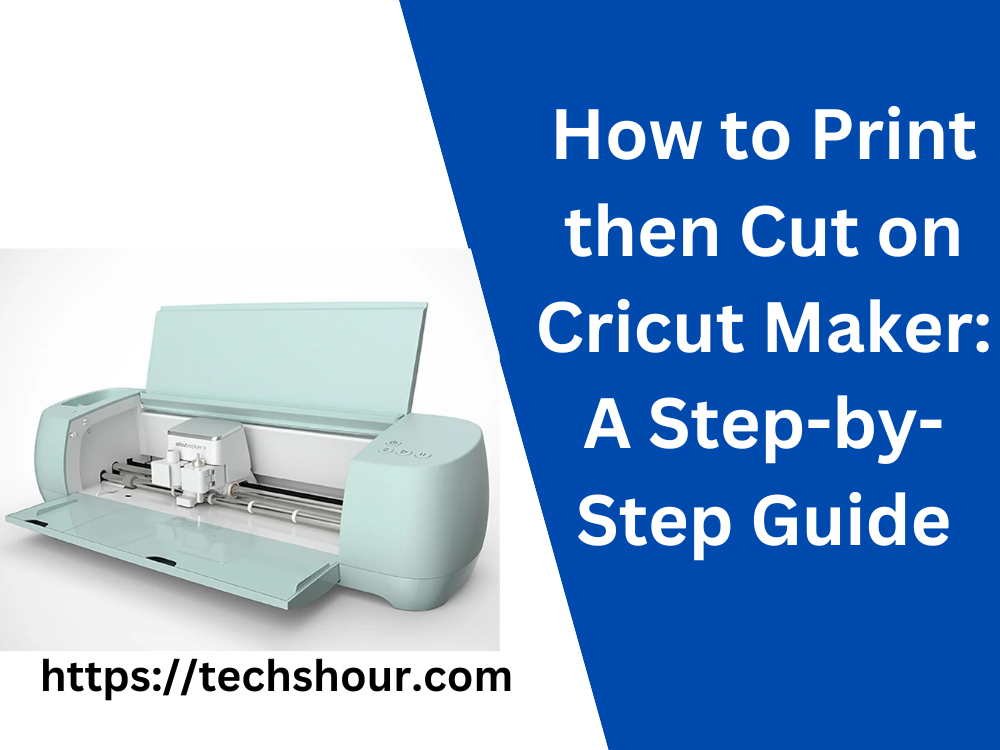
How to Print then Cut on Cricut Maker: A Step-by-Step Guide
Have you ever wanted to create custom stickers, labels, or designs for your projects but didn’t know where to start? With the Cricut Maker, you can easily print then cut your designs using a variety of materials, from vinyl to cardstock. In this article, we’ll guide you through the process of printing then cutting on the Cricut Maker, step by step.
Table of Contents
Step 1: Set up your project
To begin, you’ll need to create your design in Cricut Design Space, the software that comes with your Cricut Maker. Once you’ve created your design, select “Print then Cut” from the “Make it” menu. Choose your printer and adjust the settings as needed, then print your design onto a sheet of white paper.
Step 2: Load the printed sheet onto the cutting mat
Once your design is printed, it’s time to load it onto the cutting mat. First, take your standard grip cutting mat and remove the protective film from the sticky side. Carefully place your printed sheet onto the mat, making sure it is aligned correctly and pressed firmly onto the mat. Smooth out any wrinkles or bubbles to ensure a clean cut.
Step 3: Load the mat into the Cricut Maker
Now it’s time to load the mat into the Cricut Maker. Press the double arrow button on the machine to open the loading tray. Place the mat with the printed sheet facing up onto the tray and align it with the guides. Press the arrow button again to load the mat into the machine.
Step 4: Cut your design
With the mat loaded into the machine, it’s time to cut your design. Select the appropriate material setting for your project, and press the “Go” button on your machine. The Cricut Maker will use its precision cutting blade to cut around your design, creating a clean and precise cut every time.
Step 5: Remove your design from the mat
Once the cutting is complete, remove the mat from the machine and carefully peel away the excess paper around your design. Use a weeding tool to remove any small pieces or intricate details. Your design is now ready to use!
Tips and Tricks:
- Make sure your printer is calibrated before printing your design to ensure accurate cuts.
- Use a fresh blade for the best cutting results, as a dull blade can cause jagged edges or incomplete cuts.
- When loading the mat into the machine, make sure it is straight and aligned with the guides to avoid misalignment or errors.
- Don’t forget to mirror your design before printing if you are using iron-on vinyl or other materials that require reverse image cutting.
FAQs:
Can I use any printer with my Cricut Maker?
Yes, you can use any inkjet or laser printer with your Cricut Maker. Just make sure to adjust the settings in Design Space accordingly.
What materials can I use for print then cut?
You can use a variety of materials, including cardstock, sticker paper, printable vinyl, and more.
Can I print multiple designs on one sheet for print then cut?
Yes, you can print multiple designs on one sheet as long as they are within the printable area of your printer.
Conclusion,
printing then cutting on the Cricut Maker is an easy and fun way to create custom designs for your projects. By following these simple steps and tips, you’ll be able to create professional-looking stickers, labels, and designs in no time. So why not give it a try and see what you can create with your Cricut Maker?
Related Articles:
How to Connect Printer to Cricut Design Space:
How to Print from Cricut Design Space to Epson Printer
How to Connect Printer to Cricut Explore Air 2: A Step-by-Step Guide

