How to Connect Printer to Cricut Design Space: A Hassle-Free Guide
If you’re a craft enthusiast, chances are you’re familiar with the Cricut Design Space. It’s a fantastic tool that allows you to create designs, templates, and patterns for various projects. However, printing these designs is not always straightforward, especially if you’re using a new printer. In this article, we’ll walk you through the steps on how to connect a printer to Cricut Design Space.
Table of Contents
Step 1: Check Printer Compatibility
Before you start connecting your printer to Cricut Design Space, it’s crucial to ensure that your printer is compatible with the software. Check the manufacturer’s website for any firmware or driver updates that may be required to make your printer compatible. Once you’ve confirmed compatibility, proceed to the next step.
Step 2: Connect Printer to Computer
The next step is to connect your printer to your computer. If you’re using a wired connection, plug in the USB cable to both your printer and computer. If you’re using a wireless connection, follow the manufacturer’s instructions to connect your printer to your Wi-Fi network.
Step 3: Install Printer Software
After connecting your printer to your computer, you’ll need to install the printer software. The software will enable your computer to recognize your printer and communicate with it. Most printers come with a CD that contains the necessary software. However, if you don’t have a CD drive, you can download the software from the manufacturer’s website.
Step 4: Add Printer to Cricut Design
Space Now that your printer is connected to your computer, and the software is installed, it’s time to add your printer to Cricut Design Space. Open Cricut Design Space and click on the “Print” button. From the drop-down menu, select “System Dialog” and click on the “Properties” button.
Step 5: Select Printer
In the Properties window, select your printer from the list of available printers. Make sure that your printer is selected as the default printer. Click on “OK” to save your changes.
Step 6: Set Print Preferences
The next step is to set your print preferences. Click on the “Preferences” button in the Properties window. Here, you can adjust the print quality, paper type, and other settings to ensure that your prints come out as expected. Click on “OK” to save your changes.
Step 7: Print Design
You’re now ready to print your design. Click on the “Print” button in Cricut Design Space. Your design will be sent to your printer, and you should see a confirmation message once the print job is complete.
Tips and Tricks
- If you’re having trouble connecting your printer to Cricut Design Space, try restarting your computer and printer.
- Make sure that your printer is turned on and connected before you open Cricut Design Space.
- If you’re using a wireless connection, ensure that your printer is connected to the same Wi-Fi network as your computer.
- Always check your print preferences before printing to ensure that your prints come out as expected.
Frequently Asked Questions
Why can’t I see my printer in Cricut Design Space?
Make sure that your printer is connected to your computer and turned on before you open Cricut Design Space. If your printer still isn’t showing up, try restarting your computer and printer.
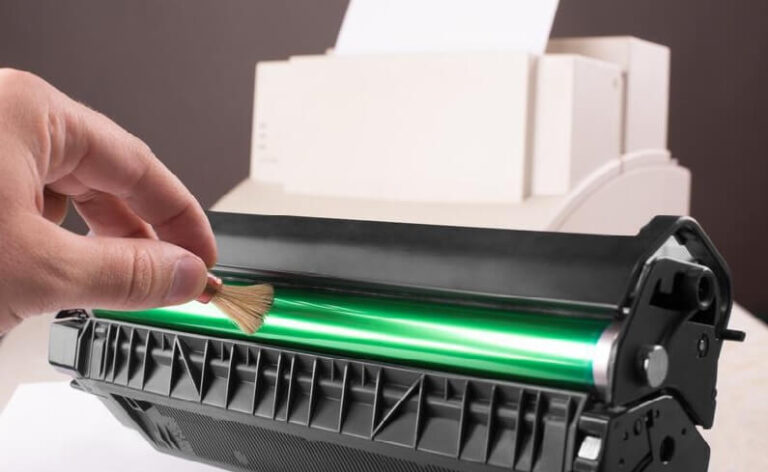
Why are my prints coming out blurry?
Check your print preferences to ensure that you’ve selected the correct print quality. If your prints still come out blurry, try cleaning your printer heads or replacing your ink cartridges.
Conclusion
Connecting your printer to Cricut Design Space may seem daunting, but it’s a relatively straightforward process. By following the steps outlined in this article, you’ll be able to connect your printer to Cricut Design Space and start printing your designs in no time. Remember to check for printer compatibility, install the necessary software, and set your print preferences before printing.
Related Articles: