How to Add a Printer in Windows 10
Before you can print, you have to add your printer to your PC. When it comes to the Windows 10 OS, the benefit is most of the time there is no need to go through the entire process.
But Windows 10 will do that for you automatically. But it really depends on the type of printer you have.
From getting the right printer to making up a connection with your system, there are many such things that you should know. And these tricks we are going to discuss today.
Here, you can learn how to add a printer in Windows 10. So you can do printing by reading this article. Regardless of what printer you have, be it a local printer, Wireless printer, or Bluetooth printer, this guide will help you out.
How to Add a Local Printer in Windows 10 via USB
Installing the printer in Windows was never so easy. But thanks to Windows 10 that makes it super easy to install a local printer and you will be able to print within no time.
Step 1: Firstly, connect your PC with a USB port and then turn on the printer.
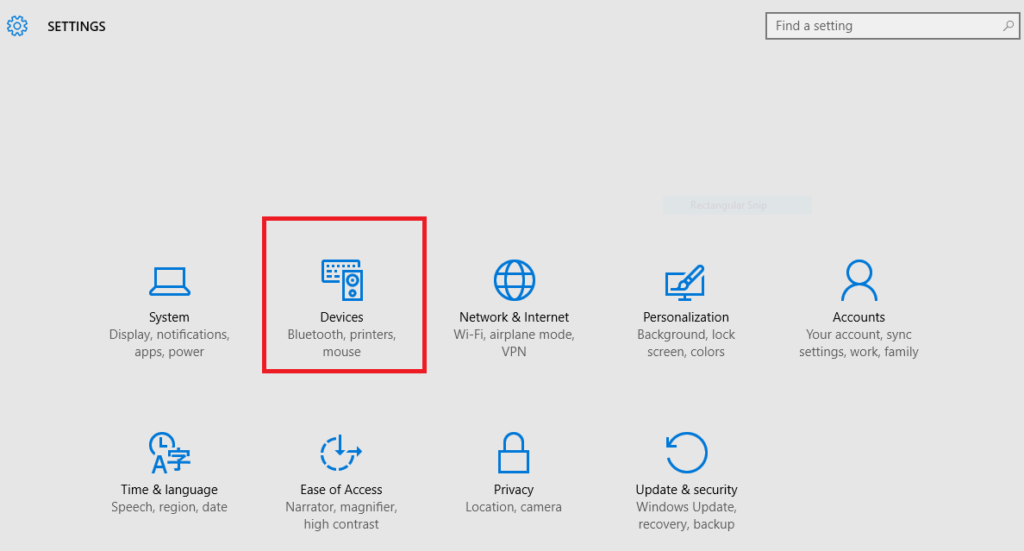
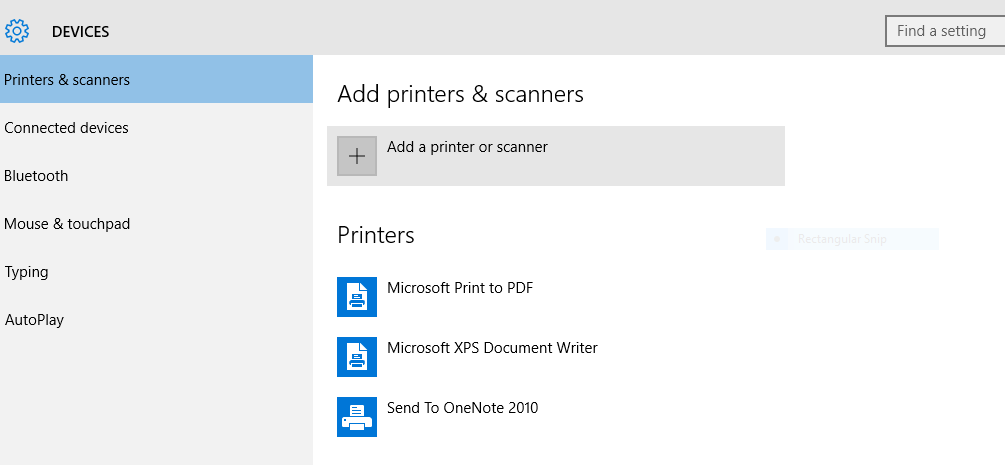
Step 2: Go to the setting from the start menu. You can also use a shortcut “Win + I”. Once you land on the settings, click on the “Devices” option.
You will find there many options such as mouse, printers, Bluetooth, etc.
Step 3: Among these options, choose “Printers & Scanners” on the left side. Then click on “Add a Printer” and you will find this option on the right-side pane of the windows.
Step 4: Now wait for a few minutes until your system finds your printer. Afterward, you will see a list of printers on the screen. If your printer is available in the list, you are lucky! Just click on it and then press “Add Device”.
Step 5: Sometimes, you may not find your printer’s name in the list. So in that case, click on “The printer I want wasn’t listed”.
And this happens when you don’t have a driver installed in your system. So simply install the drivers from the official website of the manufacturer. As soon as you will do it, repeat the same process and this time it will work.
Related Article: How to Connect Canon Printer to Mac and Windows
How to Add a Bluetooth Printer in Windows 10
For adding a Bluetooth printer, you will make the pair of your device with the computer. That said, let’s get started!
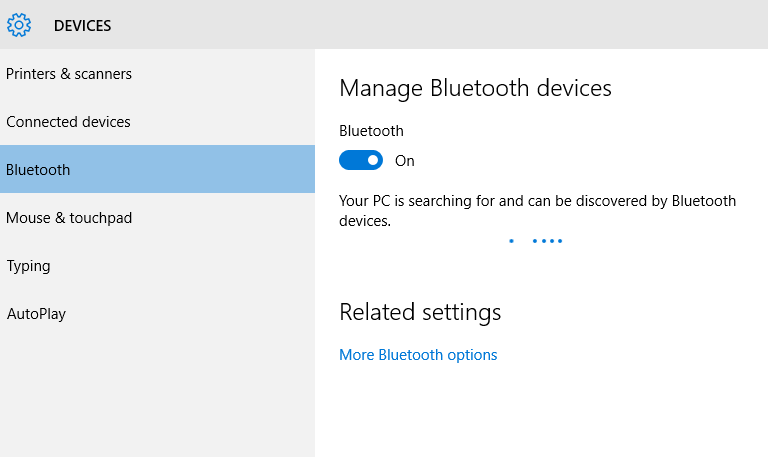
Go to the settings and then choose the “Bluetooth and Other Devices” option. It will appear in the left sidebar on your computer’s screen.
Click on “Add Bluetooth”
Now, click on the “Add Bluetooth or other devices” option. Before you proceed further, ensure that Bluetooth for your device is on.
Next, you will find a new popup window so select Bluetooth as the kind of device to add. As soon as you will click, your system will search for the Bluetooth printer and show you the list.
So choose your printer from the list. Lastly, click on the “Ready to Pair” option. Now your printer is connected and ready for printing.
Also Read: What is Printer Duty Cycle
How to Add a Wireless Printer in Windows 10
Now moving towards the Wireless printer connection in Windows 10. Most of the time, your computer will detect it and you will see a notification that your printer is ready.
But unluckily, if your printer is not automatically detected by your PC then you can follow these steps:
Go to the settings via start menu. You will find a window with many options, select “Devices”.
Now you need to click on Printers & Scanners option and then click on Add a Printer.
The Windows will look for your printer now. Next, you can simply complete the process. Once it is done, chances are your Wireless printer will be connected successfully.
But few chances are your printer won’t be detected then you don’t need to worry. We came up with the solution! You can follow the below-mentioned steps to overcome this troubleshoot.
Click on option: “The printer that I want isn’t listed”
A new window will come on your desktop screen, choose the Add Printer option. Now we will have to change default settings.
So click on “Add a local printer or network printer with manual settings”. After doing so, click on Next.
Now select “Create a New Port” and from the drop-down box, choose the “Standard TCP/IP” option and proceed to next.
Next, go to the control panel of a printer to note down its IP address. Then write it on the pop-up window you have and click on next.
In this step, choose the appropriate device type according to your printer’s brand.
Now Windows 10 of your PC will automatically detect the driver model. As a result, it will add your printer to the list of devices.
After the installation of the printer driver, you are done. Congratulations!
Now if you face any trouble we will suggest you go to Settings > Update > Troubleshoot > Printer. And run the Troubleshooter.