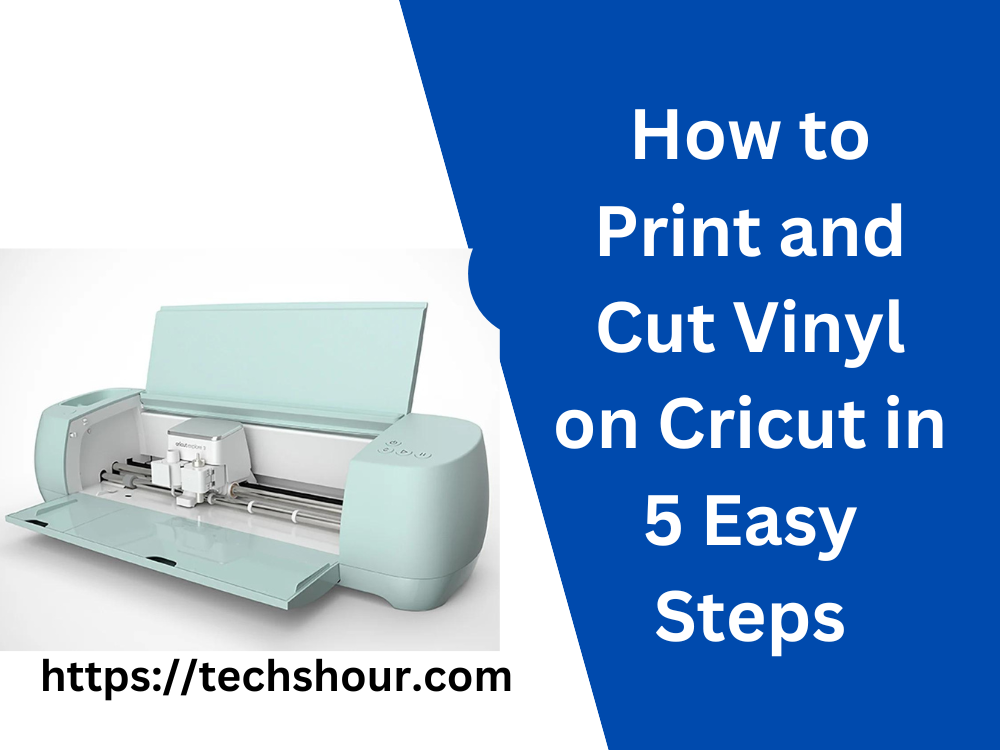
Get Creative: How to Print and Cut Vinyl on Cricut in 5 Easy Steps
If you’re looking to create custom stickers, decals, or labels, using vinyl on your Cricut machine is a great way to do it. Vinyl can be cut into any shape or design you desire, and the Cricut makes it easy to print and cut your designs accurately. In this article, we’ll show you how to print and cut vinyl on Cricut, step-by-step.
Table of Contents
Step 1: Set up your Cricut machine
Before you start, make sure your Cricut machine is set up and connected to your computer. Open Cricut Design Space and create a new project. Choose the size and shape of your design and set the material type to vinyl.
Step 2: Design your vinyl project
Once you have your project set up, it’s time to design your vinyl project. You can use the built-in tools in Design Space to create your own design or import a pre-made design from the Cricut library or your own files.
Step 3: Print your vinyl design
Once you have your design set up, it’s time to print it onto your vinyl. Load your vinyl onto the cutting mat and insert it into the machine. Select the “Print then Cut” option in Design Space and print your design onto the vinyl.
Step 4: Cut your vinyl design
After you have printed your design, it’s time to cut it out. Make sure the vinyl is still on the cutting mat and insert it into the machine again. Select the “Cut” option in Design Space and let the machine do its job.
Step 5: Weed your vinyl design
Once your vinyl design is cut, it’s time to weed out the excess vinyl. Use a weeding tool to carefully remove the parts of the vinyl that you don’t want in your final design.
Step 6: Transfer your vinyl design
Once you have weeded out the excess vinyl, it’s time to transfer your design onto your desired surface. Use transfer tape to carefully transfer your design onto your surface, smoothing out any bubbles or wrinkles as you go.
Tips and Tricks
- Make sure your vinyl is loaded onto the cutting mat correctly, with the right side facing up.
- Use a scraper tool to ensure your vinyl is securely adhered to the transfer tape before applying it to your surface.
- If your vinyl is not cutting correctly, try adjusting the pressure or blade depth settings in Design Space.
- Experiment with different types and colors of vinyl to create unique designs.
Frequently Asked Questions
Can I use any type of vinyl with my Cricut machine?
No, it’s important to use vinyl specifically designed for use with Cricut machines. Using other types of vinyl may result in poor quality cuts or damage to your machine.
Can I reuse transfer tape?
No, transfer tape is designed for one-time use only. Reusing it may result in poor quality transfers.
Can I print and cut multiple designs on one sheet of vinyl?
Yes, you can print and cut multiple designs on one sheet of vinyl, as long as they fit within the designated print and cut area.
Conclusion
Printing and cutting vinyl on your Cricut machine is a fun and easy way to create custom designs for a variety of purposes. By following these step-by-step instructions and using our tips and tricks, you can create beautiful, professional-looking vinyl designs in no time. So, go ahead and try it out – we can’t wait to see what you create!
Related Articles: