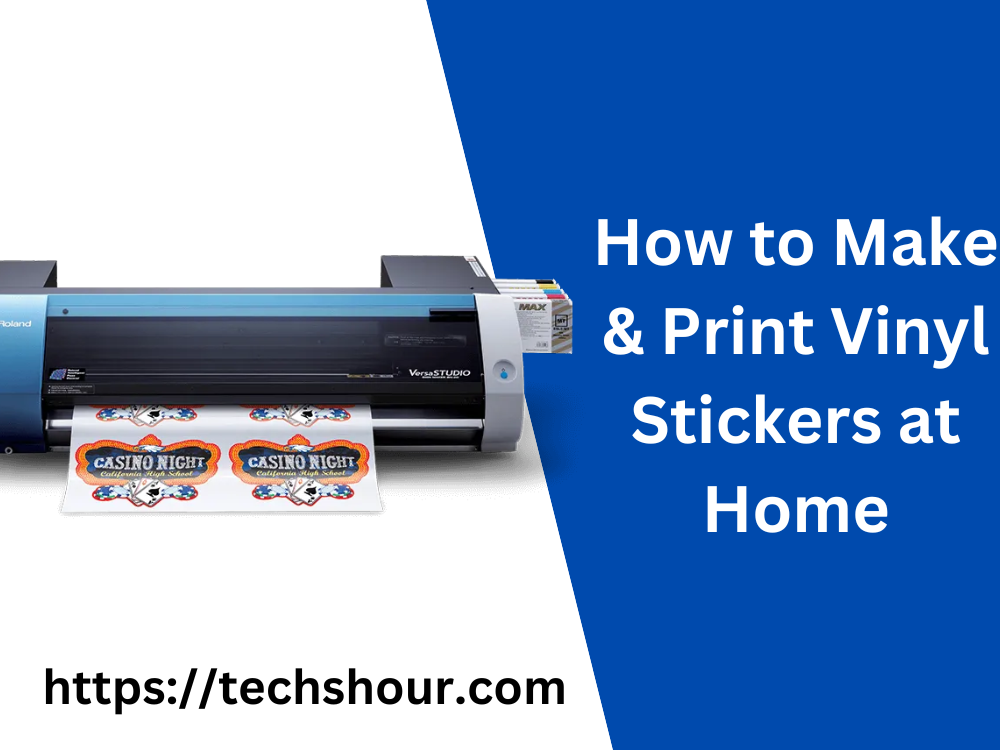
How to Make & Print Vinyl Stickers at Home
Vinyl stickers are an excellent way to personalize your belongings or promote your brand. They are easy to make and can be printed at home using a few basic materials. In this article, we will guide you through the process of making and printing vinyl stickers at home.
Table of Contents
How to Make & Print Vinyl Stickers at Home
Vinyl stickers are a popular choice for personalizing various items such as laptops, phone cases, water bottles, and cars. They can be customized with images, text, and designs of your choice. Making and printing vinyl stickers at home can save you money and allow you to create designs that are unique to you. In this guide, we will show you how to create custom vinyl stickers in a few easy steps.
Materials Needed
To make and print vinyl stickers at home, you will need the following materials:
- Vinyl sheets
- Printer
- Cutting mat
- Cutting tool
- Transfer tape
Step-by-Step Guide
Choose Your Design
Before you start making your vinyl stickers, you need to choose a design. You can create your design using graphic design software or choose one from a website that offers free design templates. Once you have your design, save it as an image file.
Print Your Design
Once you have your design ready, print it on vinyl sheets using a printer. Ensure that your printer settings are set to the correct settings to avoid any errors in the printing process. Be sure to print your design in reverse, so it will appear the right way when you transfer it onto your desired surface.
Cut Your Stickers
After printing your design on the vinyl sheet, allow the ink to dry for a few minutes. Then, place the vinyl sheet on a cutting mat and cut out the design using a cutting tool. Be precise when cutting to avoid any mistakes that may ruin the design.
Weed the Stickers
Once you have cut out the vinyl stickers, you will need to weed the excess vinyl using a weeding tool. This process involves removing the unwanted vinyl from around the design. It can be a bit tricky, so take your time to ensure that you weed the right parts.
Transfer Your Stickers
After weeding, use transfer tape to transfer the vinyl stickers onto your desired surface. Cut the transfer tape to the size of your sticker and then place it on top of the design. Rub the tape down firmly, then carefully remove the tape from the backing sheet, and the sticker should now stick to the tape. Apply the sticker to your desired surface, and then rub the tape down again to ensure the sticker adheres well.
Tips and Tricks
- When cutting your stickers, ensure that the blade is sharp to get clean cuts.
- Use a cutting mat to avoid damaging your work surface or the blade.
- Use transfer tape to apply the vinyl stickers to your desired surface.
- Avoid touching the adhesive side of the vinyl sheet as it can leave marks or fingerprints.
- Choose a high-quality vinyl sheet to ensure that your stickers last longer.
Frequently Asked Questions
Can I use any printer to print vinyl stickers?
No, you need a special inkjet printer that can handle vinyl sheets. Regular printers may not provide the best results.
How long do vinyl stickers last?
Vinyl stickers can last for several years, depending on the quality of the vinyl sheet used.
Can I use a Cricut machine to cut my vinyl stickers?
Yes, you can use a Cricut machine or any other cutting machine to cut your vinyl stickers.
Conclusion
Making and printing vinyl stickers at home is a simple process that requires a few basic materials. With the right tools and some creativity, you can create custom vinyl stickers that are unique to you.
Related Articles:
Best Printer For Vinyl Stickers
How to Print Stickers on Printer: A Step-by-Step Guide