How do I set up my HP printer to print checks?
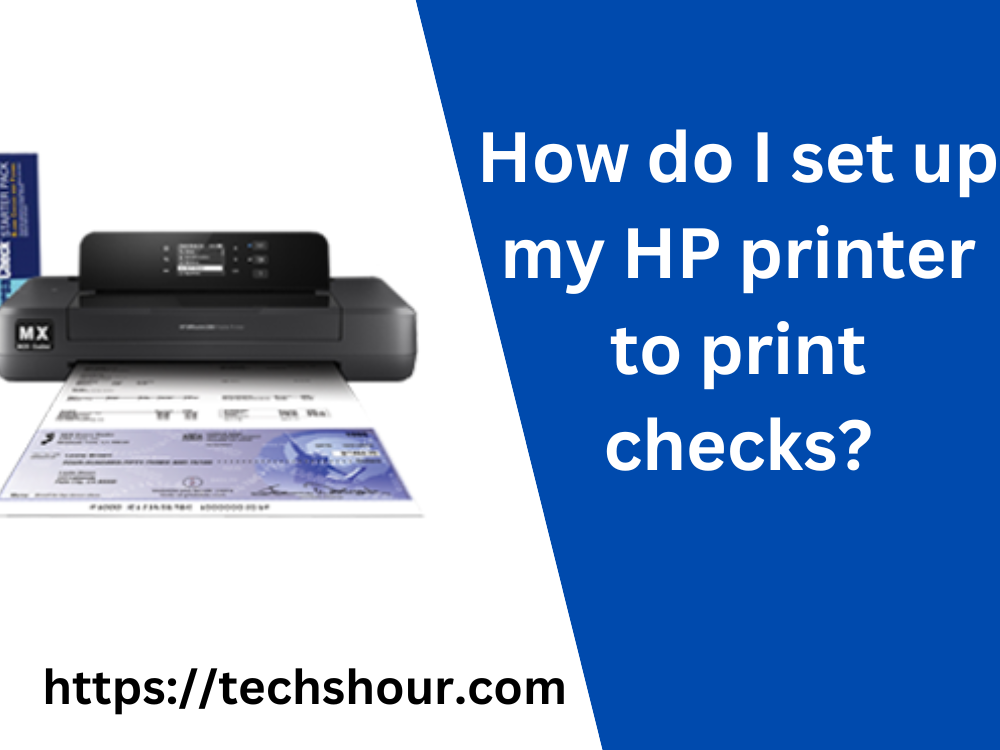
Printing checks from your HP printer is an efficient and convenient way to handle your finances. Whether you’re a small business owner or a personal user, printing checks using your HP printer can help streamline your financial transactions. However, the setup process may seem daunting at first. This guide will walk you through the step-by-step process of setting up your HP printer to print checks.
Table of Contents
Step 1: Choose the right paper
When printing checks, it is important to use the right paper to ensure that the check is processed correctly. Check paper is specially designed to meet banking standards and prevent fraud. You can purchase check paper from your local office supply store or online. Make sure to check the package to ensure that the paper is compatible with your printer.
Step 2: Install the Check Printing
Software You will need check printing software to print checks from your HP printer. There are many software options available, such as QuickBooks, CheckWriter, and ezCheckPrinting. Choose the software that best meets your needs and install it on your computer. Follow the software’s installation instructions to complete the process.
Step 3: Set up the printer
Once you have the check printing software installed, it’s time to set up your HP printer. Connect your printer to your computer using a USB cable, and turn on the printer. Follow the printer’s installation instructions to complete the process.
Step 4: Configure the Check Printing Software
Now that your printer is set up, it’s time to configure the check printing software. Open the software and navigate to the settings menu. From there, select your HP printer as the default printer for check printing. You may also need to adjust the margins and alignment to ensure that the checks print correctly.
Step 5: Test Print
Before you start printing checks, it’s a good idea to do a test print to make sure everything is set up correctly. Load a sheet of check paper into your printer, and select the “Print Test Page” option in the software. Check to make sure that all of the information is printing correctly and that the check aligns with the perforations on the paper.
Step 6: Start Printing
Checks Now that your HP printer is set up and configured, you’re ready to start printing checks. Load the check paper into the printer and open the check printing software. Enter the necessary information, such as the payee, amount, and date, and select the print option. Your HP printer will print the check, and you can then sign and distribute it as needed.
Frequently Asked Questions:
Can I print checks from any HP printer?
No, not all HP printers are compatible with check printing. Make sure to check the printer’s specifications before attempting to print checks.
Do I need special ink to print checks?
No, you can use regular ink to print checks. However, make sure that the ink is of good quality to prevent smudging and ensure readability.
Can I print multiple checks at once?
Yes, most check printing software allows you to print multiple checks at once, which can save you time and effort.
In conclusion,
Setting up your HP printer to print checks may seem overwhelming, but it’s a simple process that can save you time and streamline your finances. Follow these step-by-step instructions, and you’ll be printing checks in no time. Remember to use the proper check paper and check printing software, and do a test print before printing actual checks. Happy check printing!
Related Articles:

