How to Make Your Printer Use Tray 2: A Step-by-Step Guide
Are you struggling to make your printer use tray 2? Using the correct tray is crucial for printing documents correctly, and if you’re not sure how to switch to tray 2, it can be frustrating. In this how-to article, we will guide you through the process step-by-step, so you can make your printer use tray 2 with ease.
Table of Contents
What is Tray 2 and Why Should You Use It?
Tray 2 is an additional paper input source that is often available on printers. Using tray 2 can help you print more efficiently and save time. Instead of manually loading each piece of paper, you can load a large amount of paper into tray 2, and the printer will automatically pull the paper from the tray. Using tray 2 can also help reduce paper jams, as it allows the printer to hold more paper and prevent overloading.
Step 1: Check Your Printer
Before you can use tray 2, you need to make sure your printer has this feature. Check the manufacturer’s website or user manual to see if your printer model has tray 2. If you’re unsure, try locating the tray on your printer. Tray 2 is typically located at the bottom of the printer, below tray 1.
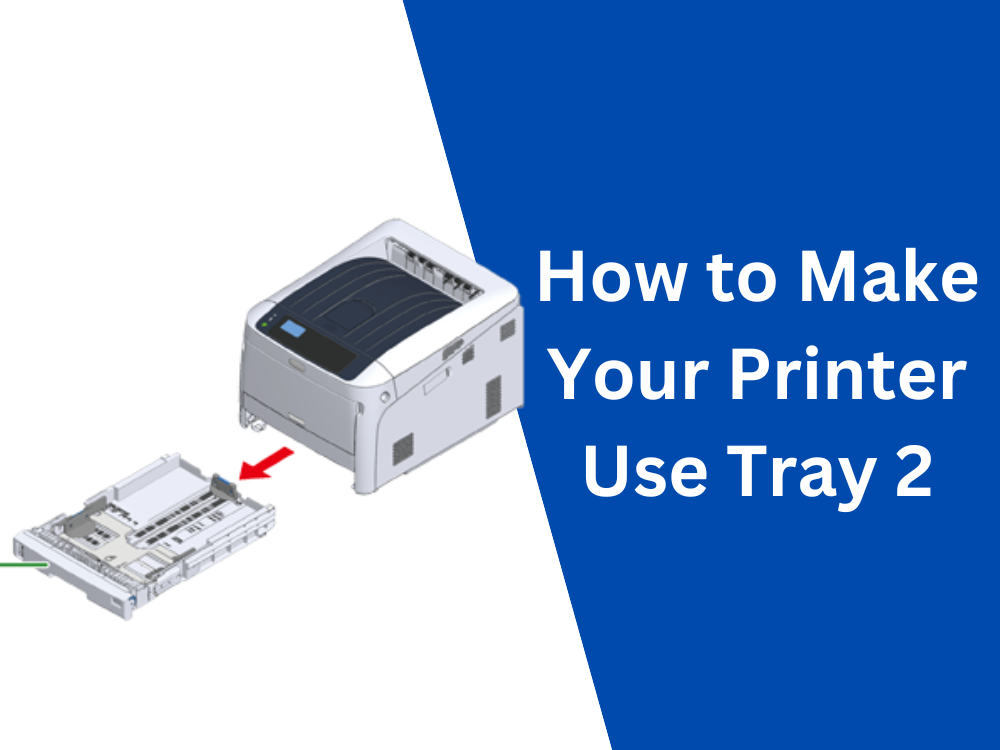
Step 2: Load Paper into Tray 2
Now that you’ve confirmed your printer has tray 2, it’s time to load paper into the tray. Here’s how to do it:
- Open tray 2 by pulling it out from the printer.
- Adjust the guides to fit the size of the paper you’re using.
- Load the paper into the tray with the print side facing down.
- Adjust the guides again to hold the paper in place.
- Close tray 2 until it clicks into place.
Step 3: Configure Your Printer Settings
After loading paper into tray 2, it’s time to configure your printer settings. Here’s how to do it:
- Open the print settings menu in the program you’re using to print.
- Click on the “Paper/Quality” tab.
- In the “Paper Source” section, select “Tray 2” from the dropdown menu.
- Adjust any other print settings as necessary, such as paper size and print quality.
- Click “Print” to print your document.
Tips and Tricks:
- If your printer has multiple trays, you may need to select “Tray 2” as the paper source each time you print. Some printers allow you to set a default paper source, so check your user manual for instructions.
- Make sure the paper in tray 2 is the same size and type as the paper in tray 1. Using different types of paper can cause paper jams and other printing issues.
- If your printer is not recognizing tray 2, try turning the printer off and then back on again.
FAQs:
How do I know if my printer has tray 2?
Check the manufacturer’s website or user manual for information about your printer’s features. You can also look for the tray on your printer – tray 2 is typically located below tray 1.
Can I use different types of paper in tray 1 and tray 2?
It’s recommended to use the same type of paper in both trays to prevent paper jams and other printing issues.
Why isn’t my printer recognizing tray 2?
Try turning your printer off and then back on again. If that doesn’t work, check your user manual or contact the manufacturer for assistance.
Conclusion
Changing the tray your printer uses is a quick and simple process. By following the step-by-step instructions above, you can make your printer use Tray 2 and enjoy the benefits of printing on a different type of paper or having the paper come out of a different tray. Remember to check your printer’s manual for specific instructions and recommended paper types, and always test your printer after making any changes to your settings.
Related Articles: