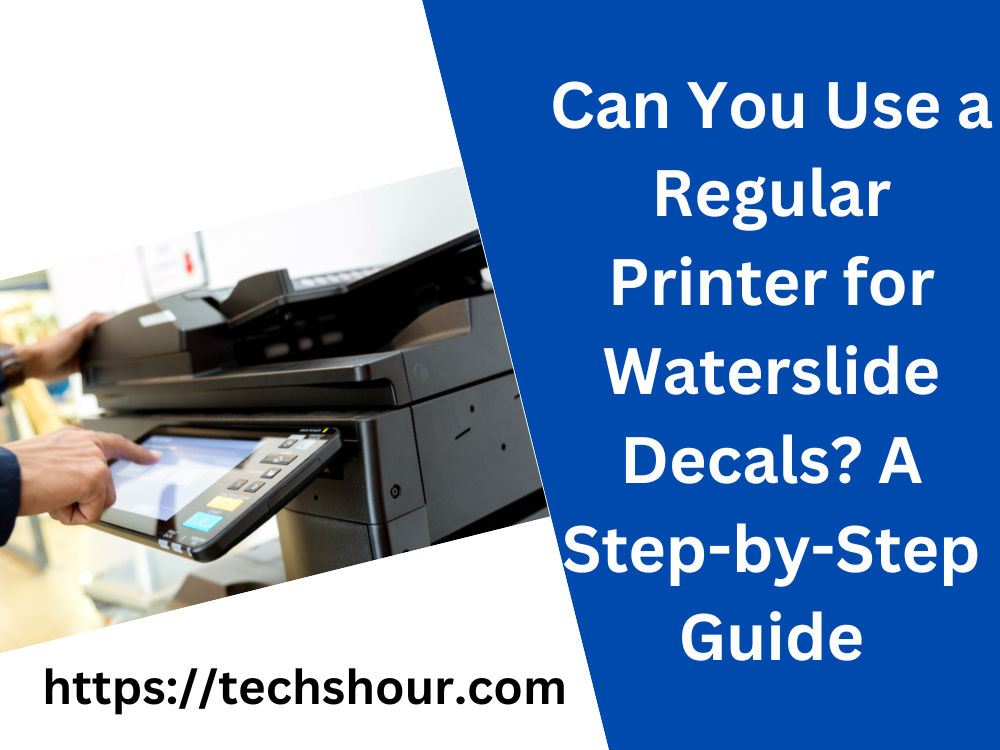
Can You Use a Regular Printer for Waterslide Decals? A Step-by-Step Guide
Waterslide decals are a popular way to add unique designs to a variety of surfaces, from ceramics to wood to plastic. However, many people wonder if they need a special printer to create these decals. The good news is that you don’t necessarily need a specialized printer to create waterslide decals. In this article, we’ll guide you through the steps of printing waterslide decals using a regular printer, including tips and tricks to ensure a successful outcome.
Table of Contents
Can You Use a Regular Printer for Waterslide Decals? A Step-by-Step Guide
Section 1: Materials Needed
Before we dive into the steps, let’s start with the materials you’ll need to print waterslide decals using a regular printer:
- Waterslide decal paper
- A regular inkjet printer
- Design software (such as Photoshop or Canva)
- Clear acrylic spray sealer
- Scissors or a craft knife
- A bowl of warm water
- A clean cloth or paper towel
Section 2: Designing Your Decal
The first step in creating waterslide decals is designing your decal using design software. You can use any design software that you are comfortable with, such as Photoshop or Canva. Here are a few tips to keep in mind when designing your decal:
- Use high-resolution images for best results.
- Choose colors that will show up well on your chosen surface.
- Keep in mind the size of the surface you’ll be applying the decal to when designing your decal.
Section 3: Printing Your Decal
Now that you have designed your decal, it’s time to print it. Here are the steps to follow:
- Load the waterslide decal paper into your printer. Make sure to load it correctly, so the ink will be printed on the glossy side of the paper.
- Print your design onto the glossy side of the waterslide decal paper. Be sure to use high-quality print settings for the best results.
- Allow the ink to dry completely before moving on to the next step. This can take up to 30 minutes, depending on your printer and ink.
Section 4: Applying the Decal
Now that your decal is printed, it’s time to apply it to your chosen surface. Here are the steps to follow:
- Cut out your decal as closely to the design as possible using scissors or a craft knife.
- Fill a bowl with warm water.
- Dip the decal into the water for about 20-30 seconds or until the backing paper begins to separate from the decal.
- Slide the decal off the backing paper and onto the surface you wish to apply it to.
- Use a clean cloth or paper towel to gently remove any excess water and air bubbles.
- Allow the decal to dry completely before moving on to the next step.
Section 5: Sealing Your Decal
To protect your decal and make it last longer, it’s important to seal it with a clear acrylic spray sealer. Here’s how to do it:
- Spray a thin, even coat of clear acrylic spray sealer onto the decal.
- Allow the sealer to dry completely.
- Apply a second coat of sealer, if desired.
Frequently Asked Questions
Can I print on both sides of the waterslide decal paper?
No, you should only print on the glossy side of the waterslide decal paper.
How long does it take for the decal to dry completely?
The decal can take anywhere from 30 minutes to a few hours to dry completely, depending on the printer, ink, and surface you’re applying it to.
Can I apply the decal to any surface?
Waterslide decals work best on smooth surfaces such as ceramics, glass, and plastic. They may not adhere well to textured surfaces or surfaces that are not completely clean and dry.
Conclusion
You don’t need a specialized printer to create waterslide decals. With the right materials and following the step-by-step instructions we’ve provided, you can create high-quality decals using a regular inkjet printer. Remember to use high-resolution images, allow the ink to dry completely, and seal your decal with a clear acrylic spray sealer to ensure it lasts for a long time. Have fun creating your own unique designs and applying them to your favorite surfaces!
Related Articles:
Best Printer For Waterslide Decals
How to Print Waterslide Decals for Tumblers: A Step-by-Step Guide
How to print waterslide decals with cricut
How to Make Water Slide Decals with an Inkjet Printer
How to Seal Water Slide Decals: A Step-by-Step Guide
How Do You Print Waterslide Nail Decals? A Step-by-Step Guide
Can You Use Any Printer for Waterslide Decals?
Can You Use an Inkjet Printer for Waterslide Decals?
Can You Use a Laser Printer for Waterslide Decals: A Step-by-Step Guide