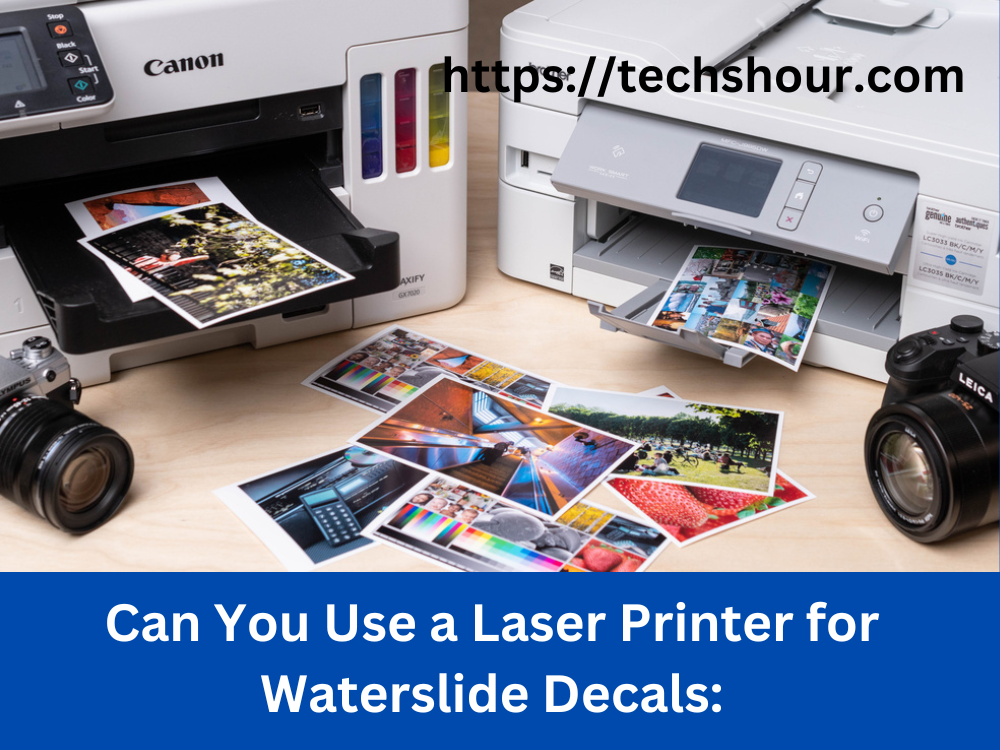
Can You Use a Laser Printer for Waterslide Decals: A Step-by-Step Guide
Have you ever wondered if you can use a laser printer for waterslide decals? Waterslide decals are a fun and easy way to decorate your favorite objects with your own designs. They are widely used in the crafting and DIY communities. However, not everyone has access to an inkjet printer, which is the recommended printer for printing on waterslide decal paper. In this article, we will explore whether you can use a laser printer for waterslide decals and provide you with a step-by-step guide on how to do it.
Table of Contents
Can You Use a Laser Printer for Waterslide Decals: A Step-by-Step Guide
What Are Waterslide Decals?
Waterslide decals, also known as water transfer decals, are thin sheets of paper with a design printed on them that can be transferred to another surface using water. They are commonly used for adding designs or logos to ceramics, glass, wood, metal, and even some plastics. The decals are applied by placing them in water until the adhesive backing dissolves, and then sliding them off the paper and onto the object to be decorated.
Can You Use a Laser Printer for Waterslide Decals?
The short answer is yes, you can use a laser printer for waterslide decals, but there are some important considerations to keep in mind. Laser printers use toner instead of ink, which can make the decals more durable and resistant to water, heat, and UV light. However, the toner does not soak into the decal paper in the same way that ink does, so it can be more challenging to get the decal to stick to the object without smudging or peeling.
Step-by-Step Guide to Using a Laser Printer for Waterslide Decals
Now that we’ve covered the basics of waterslide decals and laser printers, let’s dive into the step-by-step guide for using a laser printer for waterslide decals.
Step 1: Choose Your Decal Paper
The first step is to choose the right decal paper for your project. There are many different types of waterslide decal paper available, so be sure to read the specifications carefully to make sure it is compatible with your laser printer. Look for decal paper that is designed for use with laser printers and has a glossy finish to help the toner adhere to the paper.
Step 2: Design and Print Your Decals
Once you have your decal paper, it’s time to design and print your decals. You can use any graphic design software or even Microsoft Word to create your design. Just be sure to set your document size to match the size of your decal paper, and adjust your printer settings to print at the highest quality possible. Print a test page on regular paper first to ensure that the size and colors are correct before printing on the decal paper.
Step 3: Seal Your Decals
After you have printed your decals, it is essential to seal them before applying them to your object. This will help protect the design and prevent it from smudging or peeling. You can use a clear acrylic sealer spray or brush-on sealant. Just be sure to follow the instructions carefully and allow the sealant to dry completely before moving on to the next step.
Step 4: Cut Out Your Decals
Next, carefully cut out your decals using a pair of scissors or a craft knife. Leave a small border around the design to help it adhere to the object better.
Step 5: Apply Your Decals
Now it’s time to apply your decals to your object. Fill a shallow dish with warm water and carefully slide your decal into the water, design side up. Allow the decal to soak for about 30 seconds, or until the backing paper begins to slide off. Then, slide the decal onto your object and carefully position it where you want it. Use a squeegee or your fingers to gently smooth out any air bubbles or wrinkles. Allow the decal to dry completely before handling or using the object.
Tips and Tricks for Using a Laser Printer for Waterslide Decals
- Use a high-quality laser printer for best results.
- Print at the highest quality possible to ensure crisp and clear designs.
- Seal your decals with a clear acrylic spray or brush-on sealant to protect them from smudging or peeling.
- Use a squeegee or your fingers to smooth out any air bubbles or wrinkles when applying the decal to your object.
- Be patient and careful when handling the decal to avoid smudging or tearing.
Frequently Asked Questions
Can I use a regular inkjet printer for waterslide decals?
Yes, an inkjet printer is the recommended printer for printing on waterslide decal paper.
Can I use a laser printer for dark-colored objects?
No, laser printers cannot print white or light colors, so they are not recommended for use on dark-colored objects.
How long does it take for the decal to dry?
The decal will usually dry within a few hours, but it’s best to wait at least 24 hours before handling or using the object.
Conclusion
In conclusion, using a laser printer for waterslide decals is possible, but it requires some extra steps and considerations. By following the step-by-step guide and tips and tricks outlined in this article, you can create beautiful and durable decals for your favorite objects. Remember to choose the right decal paper, print at the highest quality possible, seal your decals, and be patient and careful when applying them to your object. Happy crafting!
Related Articles:
Best Printer For Waterslide Decals
How to Print Waterslide Decals for Tumblers: A Step-by-Step Guide
How to print waterslide decals with cricut
How to Make Water Slide Decals with an Inkjet Printer
How to Seal Water Slide Decals: A Step-by-Step Guide
How Do You Print Waterslide Nail Decals? A Step-by-Step Guide