How do I set my printer to print checks?
Printing checks using a printer is a convenient way to save time and money. However, if you’re not familiar with how to set up your printer to print checks, it can be a bit confusing. In this article, we will guide you through the process of setting up your printer to print checks step-by-step.
Table of Contents
Step 1: Choose the Right Printer
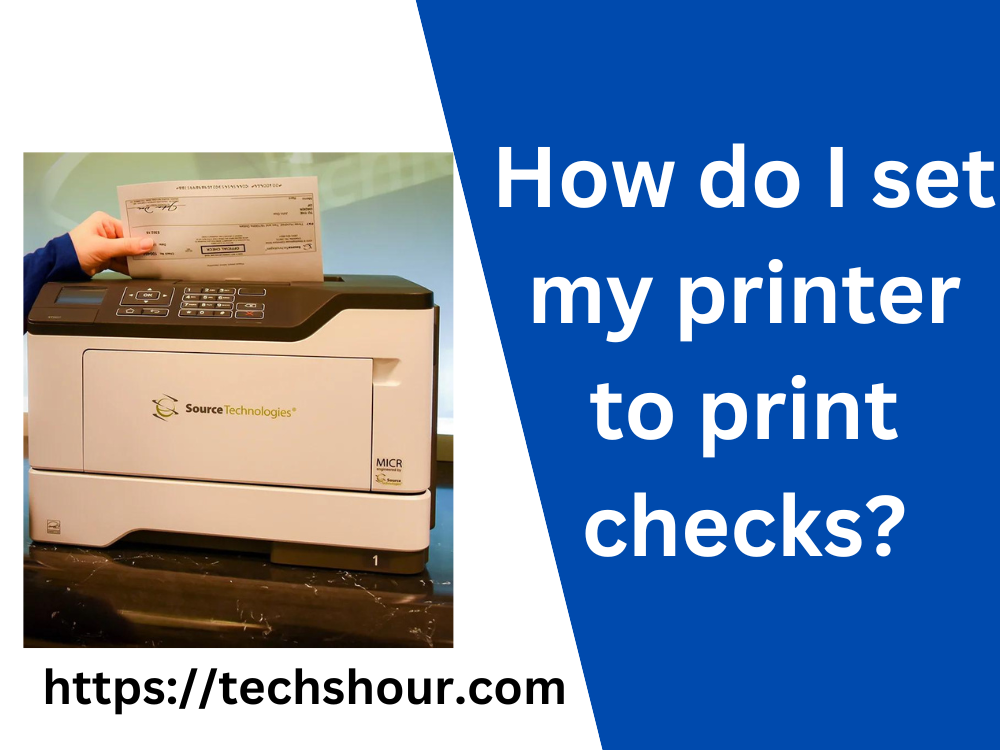
First, ensure that you have a printer that is capable of printing checks. Generally, laser printers are recommended because they produce high-quality prints that are easy to read and can be used for legal purposes. Additionally, ensure that the printer’s paper tray is set up to hold the check paper.
Step 2: Purchase Check Paper
You can purchase check paper from an office supply store or online. Ensure that the check paper is compatible with your printer and that it meets your bank’s requirements. Check paper is available in different sizes and styles, so make sure to choose the one that meets your needs.
Step 3: Install the Check Printing Software
To print checks, you will need to install check printing software on your computer. There are several software options available, including QuickBooks, Quicken, and Microsoft Money. Ensure that the software you choose is compatible with your printer and that it meets your bank’s requirements.
Step 4: Configure the Check Printing Software
Once you have installed the check printing software, you will need to configure it to work with your printer. This involves setting up the check layout, selecting the correct check paper size and style, and entering your bank’s routing and account numbers. The software should provide clear instructions on how to do this.
Step 5: Test Print the Checks
Before printing actual checks, it is recommended to test print them to ensure that they are aligned properly and that the information is printed correctly. Use a blank piece of check paper to print a test page, and check that the alignment and font are correct. Adjust the settings if necessary until you get the desired results.
Step 6: Print the Checks
Once you have tested the checks, you can print the actual checks. Ensure that the printer is loaded with check paper, and that you have entered the correct check numbers and payment amounts. Check that the alignment and font are correct before printing, and make sure that the checks are printed securely.
Frequently Asked Questions:
Can I print checks using an inkjet printer?
While it is possible to print checks using an inkjet printer, it is not recommended because the ink can smudge or fade over time, making the checks difficult to read.
What is the recommended check paper size?
The recommended check paper size is 8.5 x 11 inches.
Can I use pre-printed checks with my printer?
Yes, you can use pre-printed checks with your printer, but ensure that the printer is loaded with the correct check paper and that the checks are aligned properly before printing.
In conclusion,
Printing checks using a printer can save you time and money. By following the steps outlined in this article, you can set up your printer to print checks quickly and easily. Remember to test print the checks before printing actual checks, and ensure that you are using the correct check paper and software. With a little practice, you can become proficient at printing checks and streamline your financial record-keeping.
Related Articles:


