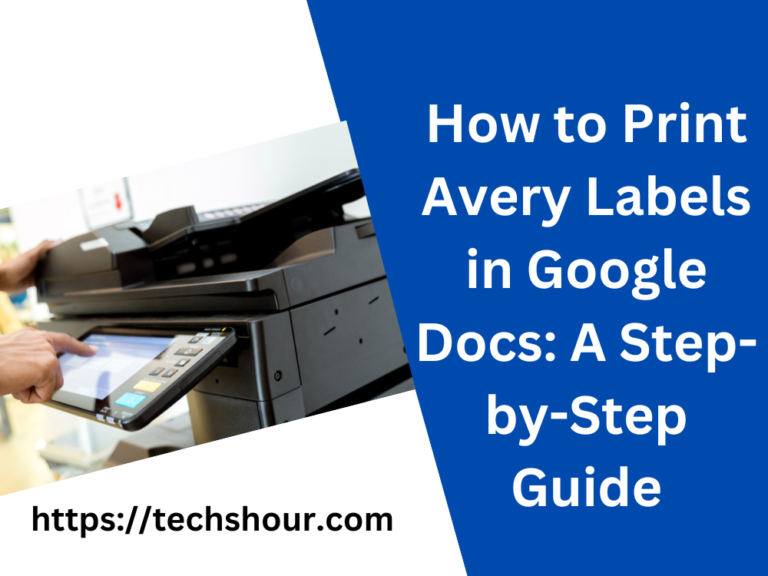
How to Print Avery Labels at Home: A Step-by-Step Guide
Are you tired of manually writing out address labels for your invitations or business mailings? Printing Avery labels at home can save you time and effort, and ensure that your labels look clean and professional. In this guide, we will walk you through the process of printing Avery labels at home, step-by-step.
Table of Contents
Step 1: Choose Your Avery Label Template
The first step to printing Avery labels at home is to choose the correct label template. Avery offers a wide variety of label templates for different purposes, including mailing labels, address labels, product labels, and more. You can browse and download Avery label templates for free on the Avery website. Once you have downloaded the template for your desired label, open it in Microsoft Word or a similar word processing software.
Step 2: Customize Your Avery Label Template
After you have opened your Avery label template, it’s time to customize it with your desired text, font, and graphics. You can add your company logo, name, address, or any other text that you want to appear on your labels. It’s important to ensure that your text fits within the label boundaries and is aligned properly. You can use the alignment and spacing tools in Microsoft Word to adjust the positioning of your text.
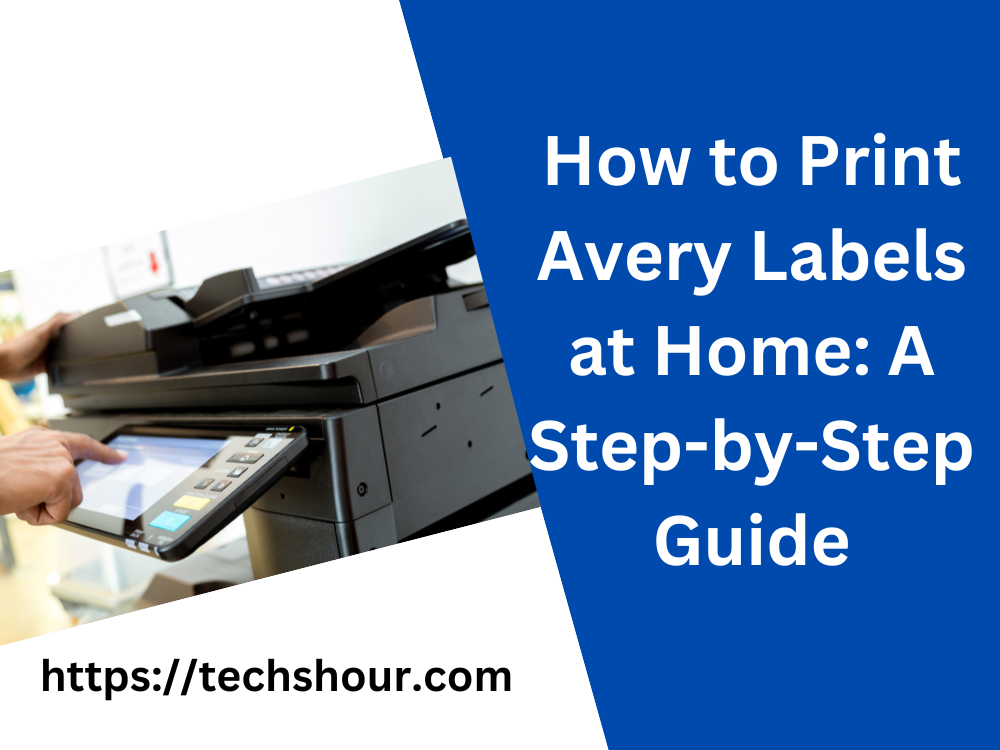
Step 3: Load Your Avery Label Sheets into the Printer
Once you have customized your Avery label template, it’s time to print it out. Before you print, make sure that you have loaded your Avery label sheets into the printer according to the instructions on the package. Avery labels are designed to work with both inkjet and laser printers, but it’s important to check the printer settings to ensure that you are using the correct paper type and size.
Step 4: Print Your Avery Labels
Now that your Avery label template is loaded and ready to go, it’s time to hit print. Before you do, make sure that you have selected the correct printer and paper size in the print settings. You may also want to adjust the print quality and ink settings to ensure that your labels look their best. Once you are ready, click print and watch as your Avery labels come to life.
Step 5: Peel and Stick Your Avery Labels
After your Avery labels are printed, it’s time to peel and stick them onto your envelopes or packages. Avery labels are designed with a special adhesive that sticks securely but also allows for easy removal if needed. Simply peel off the label from the backing paper and place it onto your desired surface. Use a label applicator or your fingers to smooth out any air bubbles or wrinkles.
Frequently Asked Questions:
Do I need special software to print Avery labels at home?
No, you can use any word processing software that supports Avery label templates, such as Microsoft Word or Google Docs.
Can I reuse Avery label sheets?
No, Avery label sheets are designed for one-time use only. Attempting to reuse them can result in poor print quality and adhesion.
What if my Avery labels don’t align properly?
If your labels are misaligned or printing off-center, try adjusting the paper tray guides or printer settings. You may also want to check the printer alignment using the built-in alignment tools.
In conclusion,
printing Avery labels at home is a simple and cost-effective way to add a professional touch to your mailings and labels. By following these step-by-step instructions and tips, you can ensure that your Avery labels come out looking clean, crisp, and perfectly aligned. So why not give it a try today? Your mailing recipients will thank you for it!